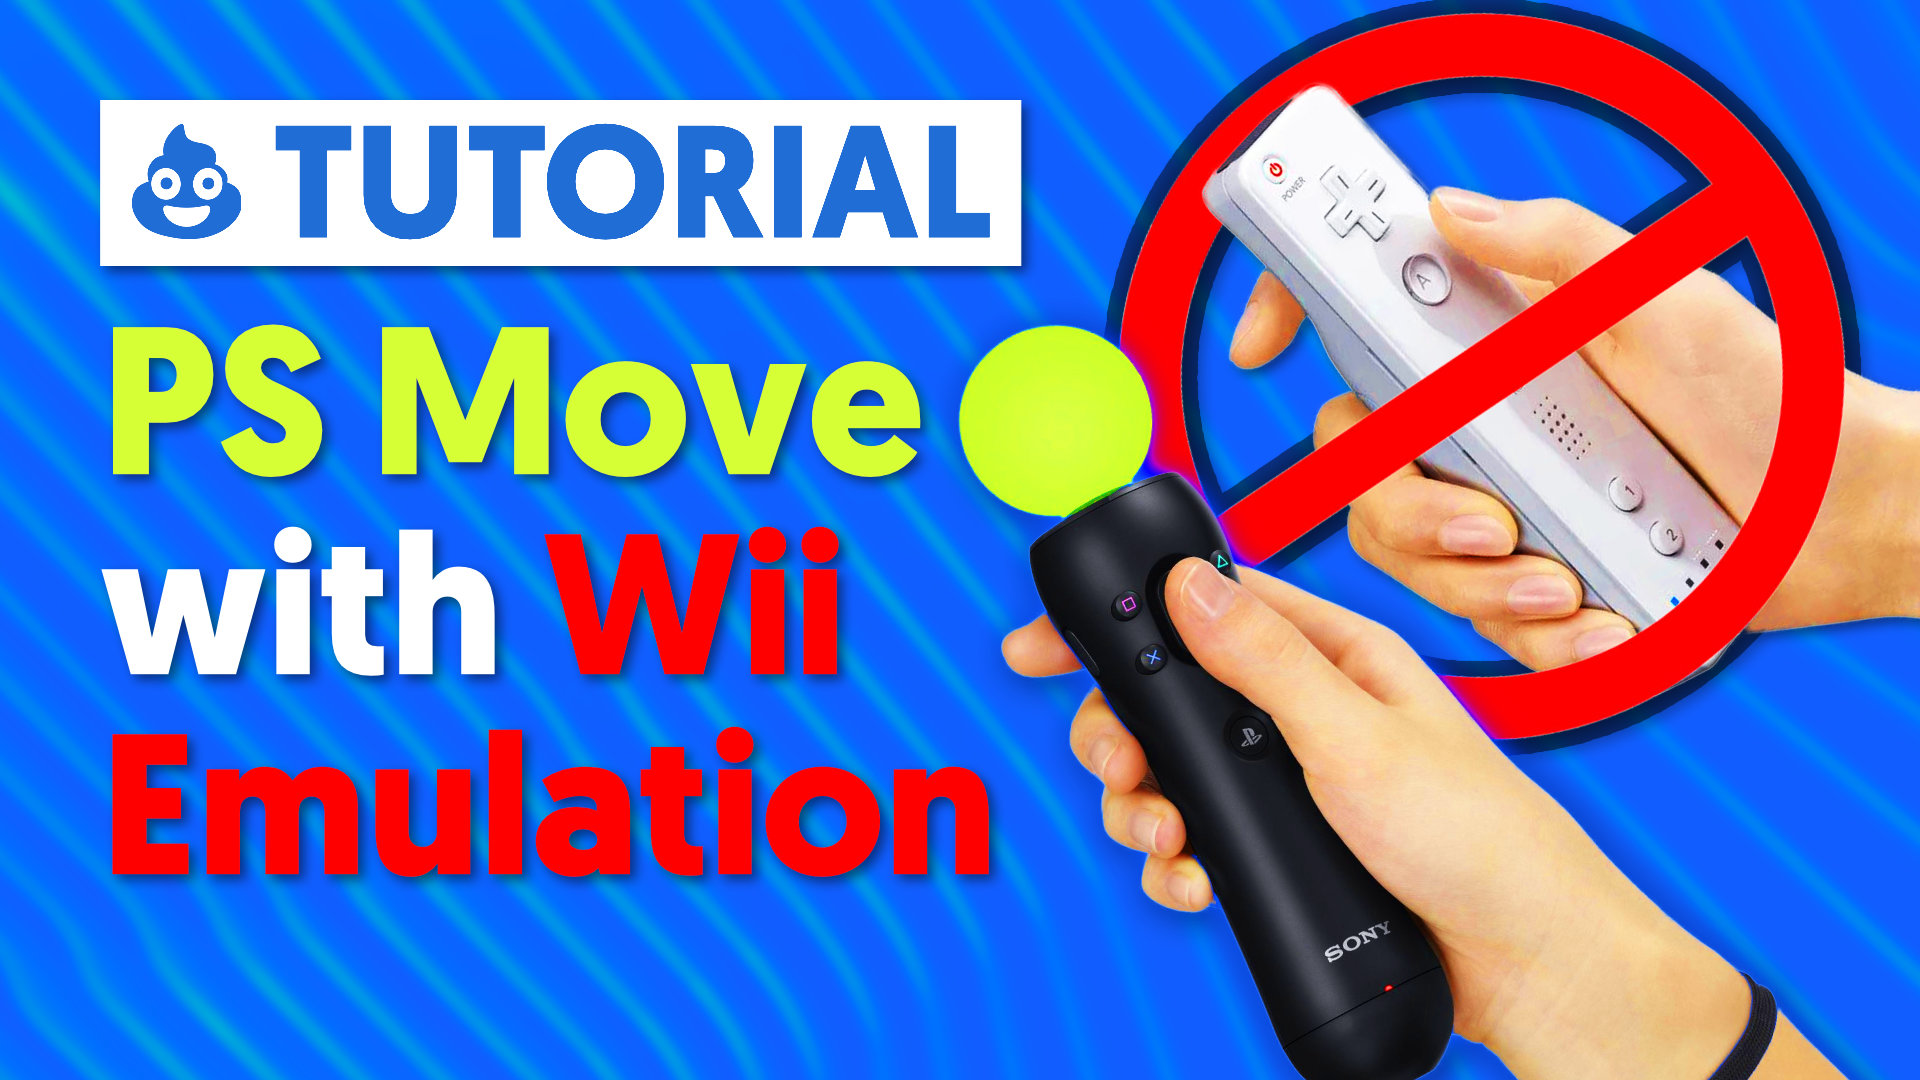
How to Use a PlayStation Move Controller as a Wii Remote in Dolphin Emulator
The PlayStation Move controller is a motion controller, so naturally, it makes sense to try using it as a Wii Remote in Dolphin Emulator.
After testing a few overly complicated options, the best solution I found is PSMove-DSU by Swordmaster3214. It lets the PS Move controller connect to Dolphin through DSU input, making it possible to use motion controls in Wii games without needing VR software or a complicated setup.
This guide will walk through downloading the required tools, pairing the controller, configuring Dolphin, and testing it in-game.
What You Need
Before getting started, you will need:
A PlayStation Move controller
A Bluetooth adapter or built-in Bluetooth on your PC
PSMove-DSU: https://github.com/Swordmaster3214/PSMove-DSU
PS Move API: https://github.com/thp/psmoveapi
Dolphin Emulator: https://dolphin-emu.org/
A Wii game to test with, such as Wii Sports
Make sure you download the x64 version of PS Move API.
Step 1: Download and Extract the Files
First, download both PSMove-DSU and PS Move API.
Once downloaded, extract the files somewhere convenient. The exact folder does not really matter, but the important thing is that the required files are placed together in the same folder:
psmoveapi_tracker.libtest_tracker.exedsu_server_psmove_win64.exepsmove.exepsmoveapi.dllpsmoveapi.libpsmoveapi_tracker.dll
This allows the tools to communicate properly.
Step 2: Pair the PlayStation Move Controller
Next, you need to pair the PS Move controller with your PC over Bluetooth.
Open the folder where you placed the PS Move API files. The easiest way to run the pairing command is to copy the folder path, then open Command Prompt as Administrator.
In Command Prompt, type cd, add a space, then paste the folder path in quotes. For example:
cd "C:\Path\To\Your\PSMove-Folder"
Once Command Prompt is inside the correct folder, run the pairing command. You can either use PS Move API itself or the DSU executable for this step, the command may be one of the following:
psmoveapi.exe pairdsu_server_psmove_win64.exe --pair
Follow the instructions shown in the Command Prompt window. Make sure Bluetooth is turned on before pairing, and connect the PS Move controller with a USB cable when prompted. One thing to watch out for: make sure Bluetooth is enabled before trying to pair the controller.
Once the controller is paired successfully, you can unplug it from USB and continue to the next step.
Step 3: Start PSMove-DSU
After the controller is paired, you need to start the DSU server so Dolphin can receive input from the PS Move controller. Stay in the same Administrator Command Prompt window from the previous step. You should still be inside the folder containing the PS Move files. To run the main program just run the DSU executable without any additional arguments:
dsu_server_psmove_win64.exe
If everything is working correctly, a command prompt window should stay open and show activity from the DSU server. This means the PS Move controller is being detected and the DSU server is running.
Leave this window open while using Dolphin. If you close it, Dolphin will no longer receive input from the PS Move controller.
At this point, your PS Move controller should be ready to connect to Dolphin through DSU input.
Step 4: Enable DSU Input in Dolphin
Now open Dolphin Emulator.
There are plenty of full Dolphin setup guides out there, so I will not go through the entire emulator setup here. For this guide, I used Wii Sports as my test game.
- In Dolphin, open the controller settings.
- Go to the Common section and open Alternate Input Sources.
- From there, enable DSU Client
The default settings should work, so you can save and close that window.
Step 5: Configure the Emulated Wii Remote
Next, go to the Wii Remote settings in Dolphin.
- Set the controller type to: Emulated Wii Remote
- Then choose the DSU client as the input device.
- Once selected, check the motion input tab. This is where the PS Move’s motion data should come through.
- You will probably want to set a button or keyboard key to recenter the pointer. I just used a keyboard key for this.
This is important because the pointer may drift or start slightly off-center, and having a quick recenter button makes the whole setup much easier to use.
Step 6: Map the Buttons
Now you can map the PS Move buttons to Wii Remote inputs in the General and Options tab.
I used PS3-era PS Move controllers, and unfortunately Dolphin would not let me map every button. The symbol buttons and trigger worked, but the main Move button, Share, and Options did not work properly for me. This may be different with PS4-era Move controllers, but I am not sure.
For now, map whatever buttons Dolphin can detect. For something simple like Wii Sports, you may not need many buttons anyway.
Step 7: Test It in a Game
Once your buttons and motion controls are mapped, launch a game.
The setup is not perfect out of the box, and I am still not sure about the best way to fine-tune or calibrate everything. You may need to experiment with sensitivity, pointer behavior, and recentering.
That said, with a recenter button mapped, I was able to navigate well enough and actually play the game. The swing strength required in Wii Sports also felt a little strong, but the important thing is that it worked.
Final Thoughts
This is the simplest solution I have found for using a PlayStation Move controller with Dolphin Emulator.
It still has some rough edges. Button mapping is limited, calibration may need tweaking, and two-player support does not seem ready yet, at least on Windows. It might also be possible to use it as a Nunchuk-style controller, but I am not familiar enough with the full extent of PS Move API support to say for sure.
But the fact that this works at all is awesome.
If you have a PS Move controller lying around, this is absolutely worth trying.
PS Move Controllers https://amzn.to/4u0NYr7
PSMove-DSU https://github.com/Swordmaster3214/PSMove-DSU
PS Move API https://github.com/thp/psmoveapi
Dolphin Emulator https://dolphin-emu.org/